ANAVEM
Languagefr
How to Restore Windows 10-Style Start Menu in Windows 11 25H2

How to Restore Windows 10-Style Start Menu in Windows 11 25H2

Bring back the familiar Windows 10 Start menu in Windows 11 using ViveTool, registry modifications, or Open-Shell Menu. Complete guide with verification steps.

Emanuel DE ALMEIDAEmanuel DE ALMEIDA
March 18, 2026 12 min 0
easywindows11 6 steps 12 min

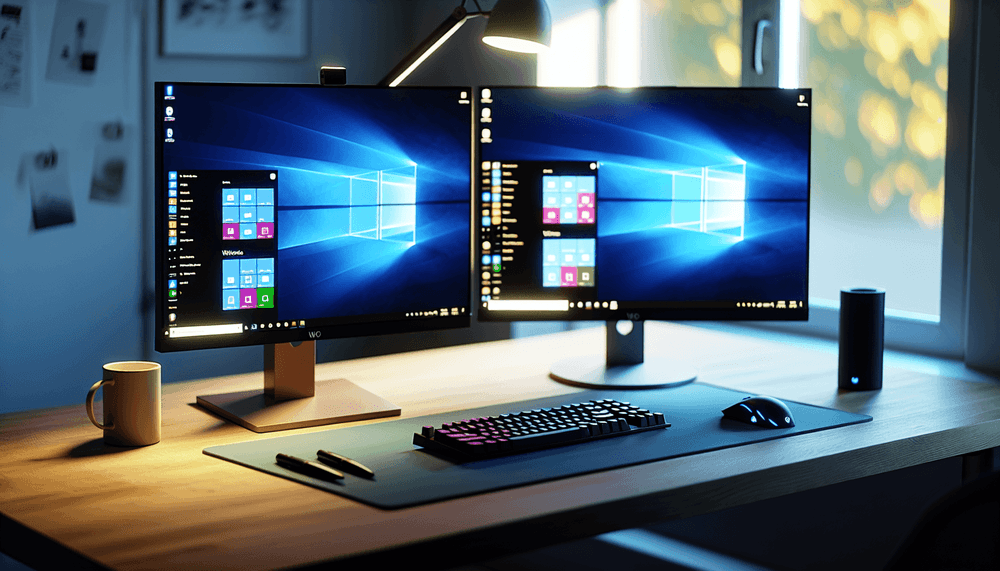
Why Restore the Windows 10-Style Start Menu in Windows 11?

Windows 11 introduced a centered, simplified Start menu that removed many familiar elements from Windows 10, including live tiles, the left-aligned layout, and the traditional program list structure. Many users find this new design less functional for their workflow, particularly those who relied on the organized folder structure and quick access to all programs that Windows 10 provided.

What Methods Work in Windows 11 25H2?

As of 2026, Microsoft has implemented enhanced security measures in Windows 11 25H2 that block many traditional registry modifications. The classic Start_ShowClassicMode registry hack that worked in earlier versions is no longer effective due to these security improvements. However, three reliable methods remain: ViveTool (the most reliable for current versions), Open-Shell Menu (for complete customization), and limited registry modifications for older Windows 11 builds.

Which Approach Should You Choose?

ViveTool offers the best balance of functionality and system stability, as it uses Microsoft's own feature flags to enable hidden interface elements. Open-Shell Menu provides the most comprehensive classic experience but replaces the entire Start menu system. Registry modifications work only on pre-25H2 versions and may not persist through system updates. This tutorial covers all three methods, allowing you to choose the approach that best fits your system version and customization needs.

Related: How to Add 'Turn Off Display' to Windows 11 Context Menu

Related: Enable or Disable Copilot File Search on Windows 11

Related: How to Get Windows 11 26H1: What It Is, Who It's For, and

Related: Change User Profile Folder Name in Windows 11 25H2

Implementation Guide

Full Procedure

01

Create System Backup and Download ViveTool

Before making any system changes, create a restore point to safeguard your system. Then download the latest ViveTool for the most reliable method.

Create a system restore point:

powershell -Command "Checkpoint-Computer -Description 'Before Start Menu Modification' -RestorePointType 'MODIFY_SETTINGS'"

Download ViveTool from the official GitHub repository. Navigate to the ViveTool releases page and download the latest version (v0.4.1 or newer for 2026).

Extract the downloaded ZIP file to a permanent location like C:\ViveTool. This folder will contain the vivetool.exe executable.

Pro tip: Create the ViveTool folder directly in your C: drive root for easier command line access.

Verification: Open the extracted folder and confirm you see vivetool.exe along with other supporting files.

02

Enable Classic Start Menu Using ViveTool

ViveTool is the most reliable method for Windows 11 25H2, as it bypasses the security restrictions that block registry modifications.

Open Command Prompt as Administrator by searching for "cmd" in the Start menu, right-clicking "Command Prompt" and selecting "Run as administrator".

Navigate to your ViveTool directory:

cd C:\ViveTool

Enable the classic Start menu feature:

vivetool /enable /id:47205210

You should see a success message indicating the feature has been enabled. Now restart your computer for the changes to take effect:

shutdown /r /t 0
Warning: If you see an error about insufficient privileges, ensure you're running Command Prompt as Administrator.

Verification: After restart, click the Start button. You should see a more traditional layout without the recommended section and centered design.

03

Alternative Method: Registry Modification for Older Windows 11 Versions

This method works primarily on Windows 11 versions before 25H2. If ViveTool didn't work or you're on an older version, try this registry approach.

Press Win + R to open the Run dialog, type regedit and press Enter. Click "Yes" when prompted by User Account Control.

Navigate to the following registry path:

HKEY_CURRENT_USER\Software\Microsoft\Windows\CurrentVersion\Explorer\Advanced

Right-click in the right pane, select "New" > "DWORD (32-bit) Value" and name it Start_ShowClassicMode.

Double-click the newly created value, set the "Value data" to 1, ensure "Base" is set to "Hexadecimal", and click "OK".

Restart Windows Explorer without rebooting:

taskkill /f /im explorer.exe && start explorer.exe
Pro tip: Export the registry key before making changes by right-clicking the "Advanced" folder and selecting "Export".

Verification: Open the Start menu to check if the layout has changed. If not, this method may not work on your Windows 11 version.

04

Install Open-Shell Menu for Complete Classic Experience

For users wanting a fully customizable classic Start menu experience similar to Windows 7, Open-Shell Menu provides the most comprehensive solution.

Open Command Prompt as Administrator and install Open-Shell using Windows Package Manager:

winget install --id Open-Shell.Open-Shell-Menu

The installation will download and install automatically. Once complete, search for "Open-Shell Menu Settings" in the Start menu and open it.

In the settings window, check "Show all settings" at the bottom to access advanced options.

Navigate to the "Start Menu Style" tab and select "Windows 7 style" for the most familiar experience.

In the "Controls" tab, set "Windows Key opens" to "Open-Shell Menu" to ensure the Windows key activates your new menu.

Click "OK" to apply the settings. Your Start button should now show the classic menu when clicked.

Warning: Open-Shell replaces the entire Start menu functionality, which may hide some modern Windows 11 features.

Verification: Press the Windows key or click the Start button. You should see a classic Windows 7-style menu with your programs organized in folders.

05

Customize Classic Menu Appearance and Behavior

Fine-tune your classic Start menu experience by adjusting visual elements and behavior settings.

If using Open-Shell, open "Open-Shell Menu Settings" again and navigate to the "Customize Start Menu" tab.

Here you can modify which items appear in your menu, such as:

  • Control Panel access
  • Recent documents
  • Run command
  • Search box behavior

For ViveTool users, additional customization can be done through Windows Settings. Open Settings > Personalization > Start and disable "Show recently added apps" and "Show most used apps" for a cleaner look.

Move the taskbar to the left for a more traditional feel:

Settings > Personalization > Taskbar > Taskbar behaviors > Alignment: Left

Pro tip: You can create custom skins for Open-Shell or download community-created themes to match your preferred Windows version aesthetic.

Verification: Test your customizations by opening the Start menu and checking that your preferred settings are active.

06

Troubleshoot Common Issues and Revert Changes

If you encounter problems or want to return to the default Windows 11 Start menu, here's how to troubleshoot and revert your changes.

To disable ViveTool changes:

cd C:\ViveTool
vivetool /disable /id:47205210

Then restart your computer.

To remove registry modifications:

Open Registry Editor, navigate to HKEY_CURRENT_USER\Software\Microsoft\Windows\CurrentVersion\Explorer\Advanced, and delete the Start_ShowClassicMode value.

To uninstall Open-Shell:

winget uninstall --id Open-Shell.Open-Shell-Menu

Or use Settings > Apps, find "Open-Shell Menu" and click "Uninstall".

Common issues and solutions:

  • Changes don't persist after updates: Windows updates may reset modifications. Re-run ViveTool commands after major updates.
  • Start menu becomes unresponsive: Restart Windows Explorer using Task Manager or the command line method shown earlier.
  • ViveTool shows access denied: Ensure you're running Command Prompt as Administrator and that Windows Defender isn't blocking the tool.
Warning: If your Start menu becomes completely non-functional, use your system restore point to revert all changes.

Verification: After reverting, confirm the default Windows 11 Start menu has returned by clicking the Start button.

Frequently Asked Questions

Does the Windows 10 Start menu modification work on Windows 11 25H2?+
Traditional registry modifications like Start_ShowClassicMode no longer work reliably on Windows 11 25H2 due to enhanced security measures. ViveTool is the most effective method for current Windows 11 versions, using feature ID 47205210 to enable classic menu elements. Open-Shell Menu provides a complete alternative that works on all Windows 11 versions.
Is it safe to use ViveTool to modify the Windows 11 Start menu?+
ViveTool is relatively safe as it uses Microsoft's own feature flag system rather than deep system modifications. However, it's an unofficial tool that manipulates hidden Windows features, so there's always some risk. Always create a system restore point before using ViveTool, and be prepared to revert changes if issues occur after Windows updates.
Will Windows updates remove my classic Start menu modifications?+
Yes, major Windows updates often reset ViveTool modifications and can disable Open-Shell Menu temporarily. Registry changes are most likely to be reverted. After significant updates, you'll typically need to re-run ViveTool commands or reconfigure Open-Shell settings. Minor security updates usually don't affect these modifications.
Can I use multiple methods together to customize the Start menu?+
It's not recommended to combine ViveTool with registry modifications as they may conflict. However, you can use ViveTool alongside Windows Settings customizations (like disabling recommended apps or moving taskbar alignment). Open-Shell Menu should be used alone as it completely replaces the Start menu system and may conflict with other modifications.
How do I completely revert to the default Windows 11 Start menu?+
To revert ViveTool changes, run 'vivetool /disable /id:47205210' as administrator and restart. For registry modifications, delete the Start_ShowClassicMode value from HKEY_CURRENT_USER\Software\Microsoft\Windows\CurrentVersion\Explorer\Advanced. Uninstall Open-Shell via Settings > Apps or using 'winget uninstall --id Open-Shell.Open-Shell-Menu'. If issues persist, use your system restore point.
Emanuel DE ALMEIDA
Written by

Emanuel DE ALMEIDA

Microsoft MCSA-certified Cloud Architect | Fortinet-focused. I modernize cloud, hybrid & on-prem infrastructure for reliability, security, performance and cost control - sharing field-tested ops & troubleshooting.

Discussion

Share your thoughts and insights

You must be logged in to comment.

Loading comments...